
How to Make a Gallery Wall: 10 Rules to Follow Before You Make a Single Hole
A good gallery wall looks as if it happened over years. It’s one of the best ways to add your personality and elevate your space. Here is the planning I do before anything goes near a wall, from sizing the arrangement to fixing it into period plaster.

A gallery wall is an excellent way to fill an empty space and add interest on a large wall. It adds character to a room and shows who lives in the house. Beginning a gallery wall might seem overwhelming. Where do you get your art from? Do they work together? How do I place them on the wall and how far apart? This is my go to list to help you get started. You will need to work with what you have, and there are no hard rules, but these are some tips that usually work.
1. Start with a colour palette
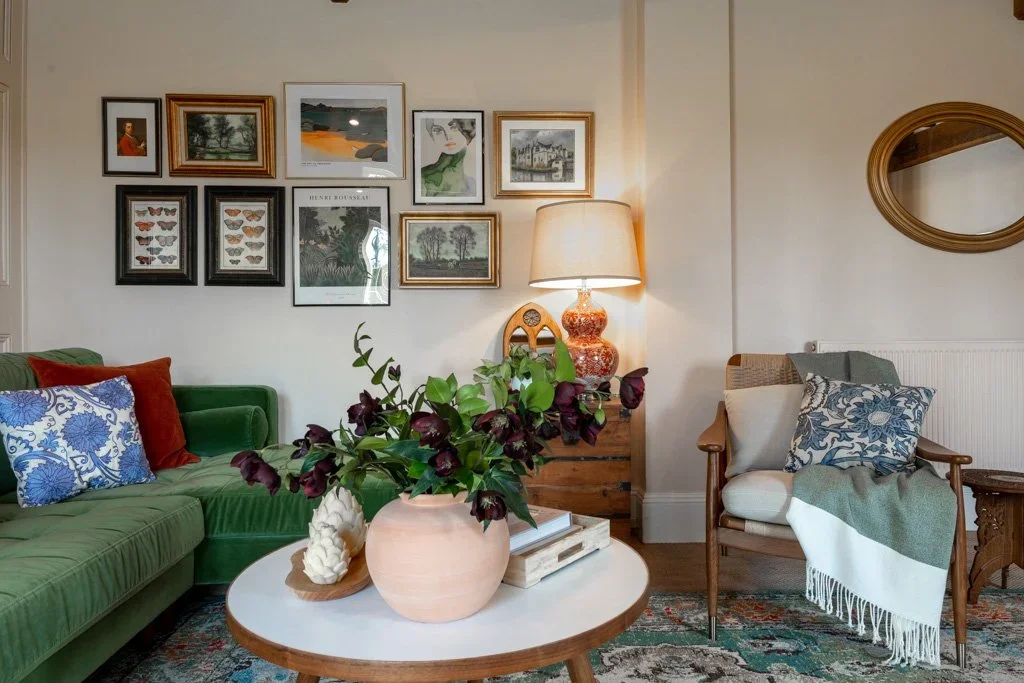
Keep the tone and intensity of your pieces close. I usually pull one shade from the room and repeat it in at least three pieces, spread across the wall so the eye travels. A palette is also what lets very different art live together. A soft landscape, a bold print and a family photograph all sit happily when they share two or three colours.
2. Hang your biggest piece first, and off-centre
Your largest piece sets the scale for everything else, so it goes up first. Place it off-centre. In the middle it takes all the attention and the rest of the wall feels like an afterthought. Off-centre will give the eye a place to start. If you can put the second largest piece diagonally across from the first. Two heavy pieces side by side make a wall lopsided. Spreading them out balances the weight, and the smaller pieces fill the space in between.
3. Mix portrait and landscape
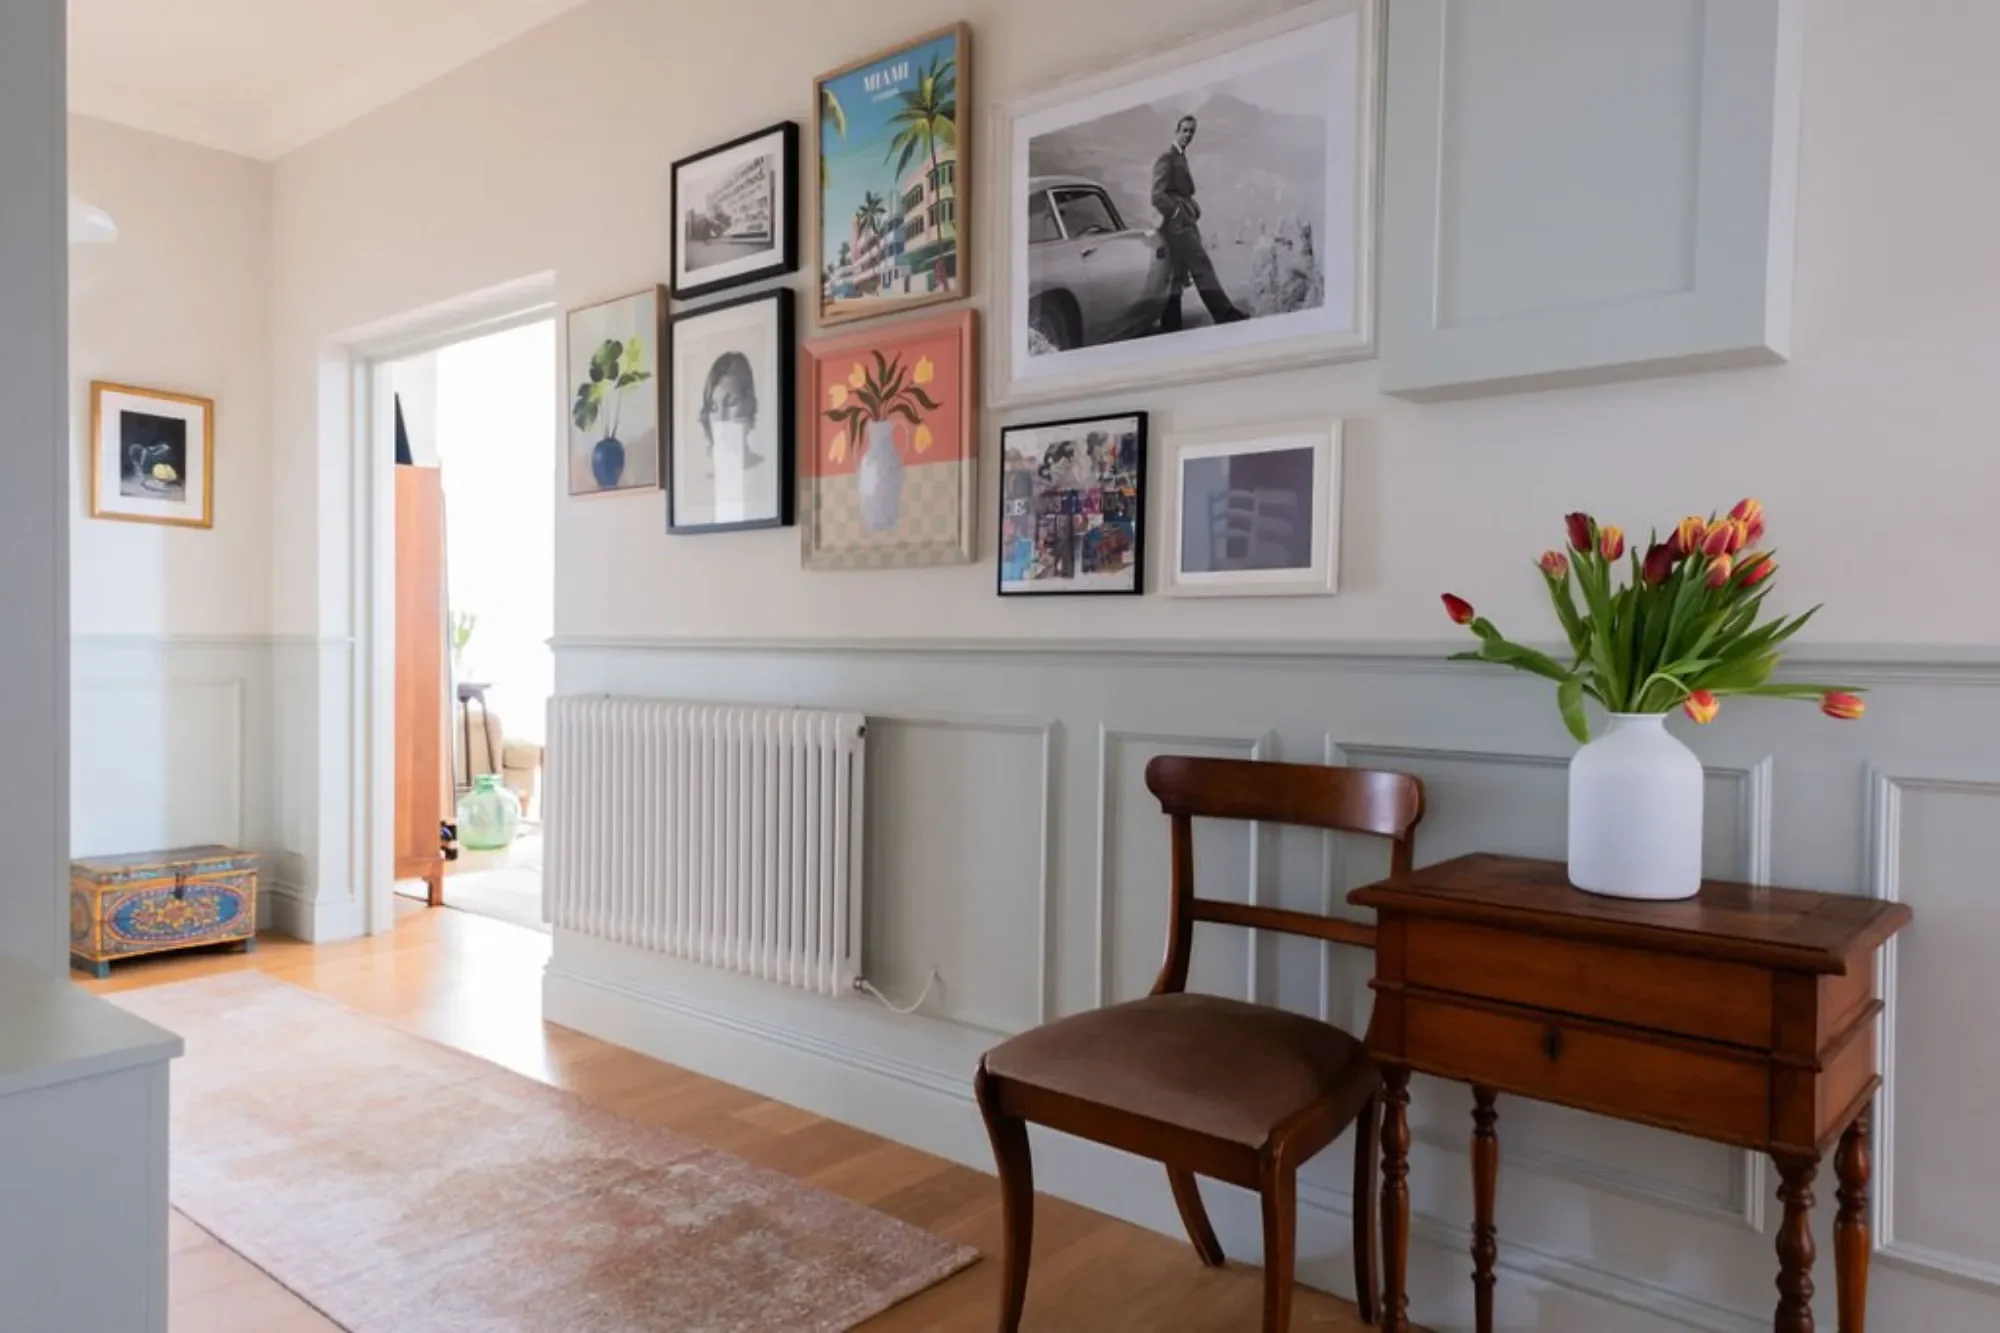
A wall of frames that all face the same way looks flat. I would alternate them. If your biggest piece is landscape, put a smaller portrait piece beside it, and the other way round. The change of shape keeps the eye moving.
4. Mix your frames, within limits
Different frame finishes add depth, but too many look chaotic. Start with two or three, such as black, natural oak and one touch of brass. If the art itself is very mixed, white or off-white mounts will calm it down, but don’t be afraid to use different coloured mounts.
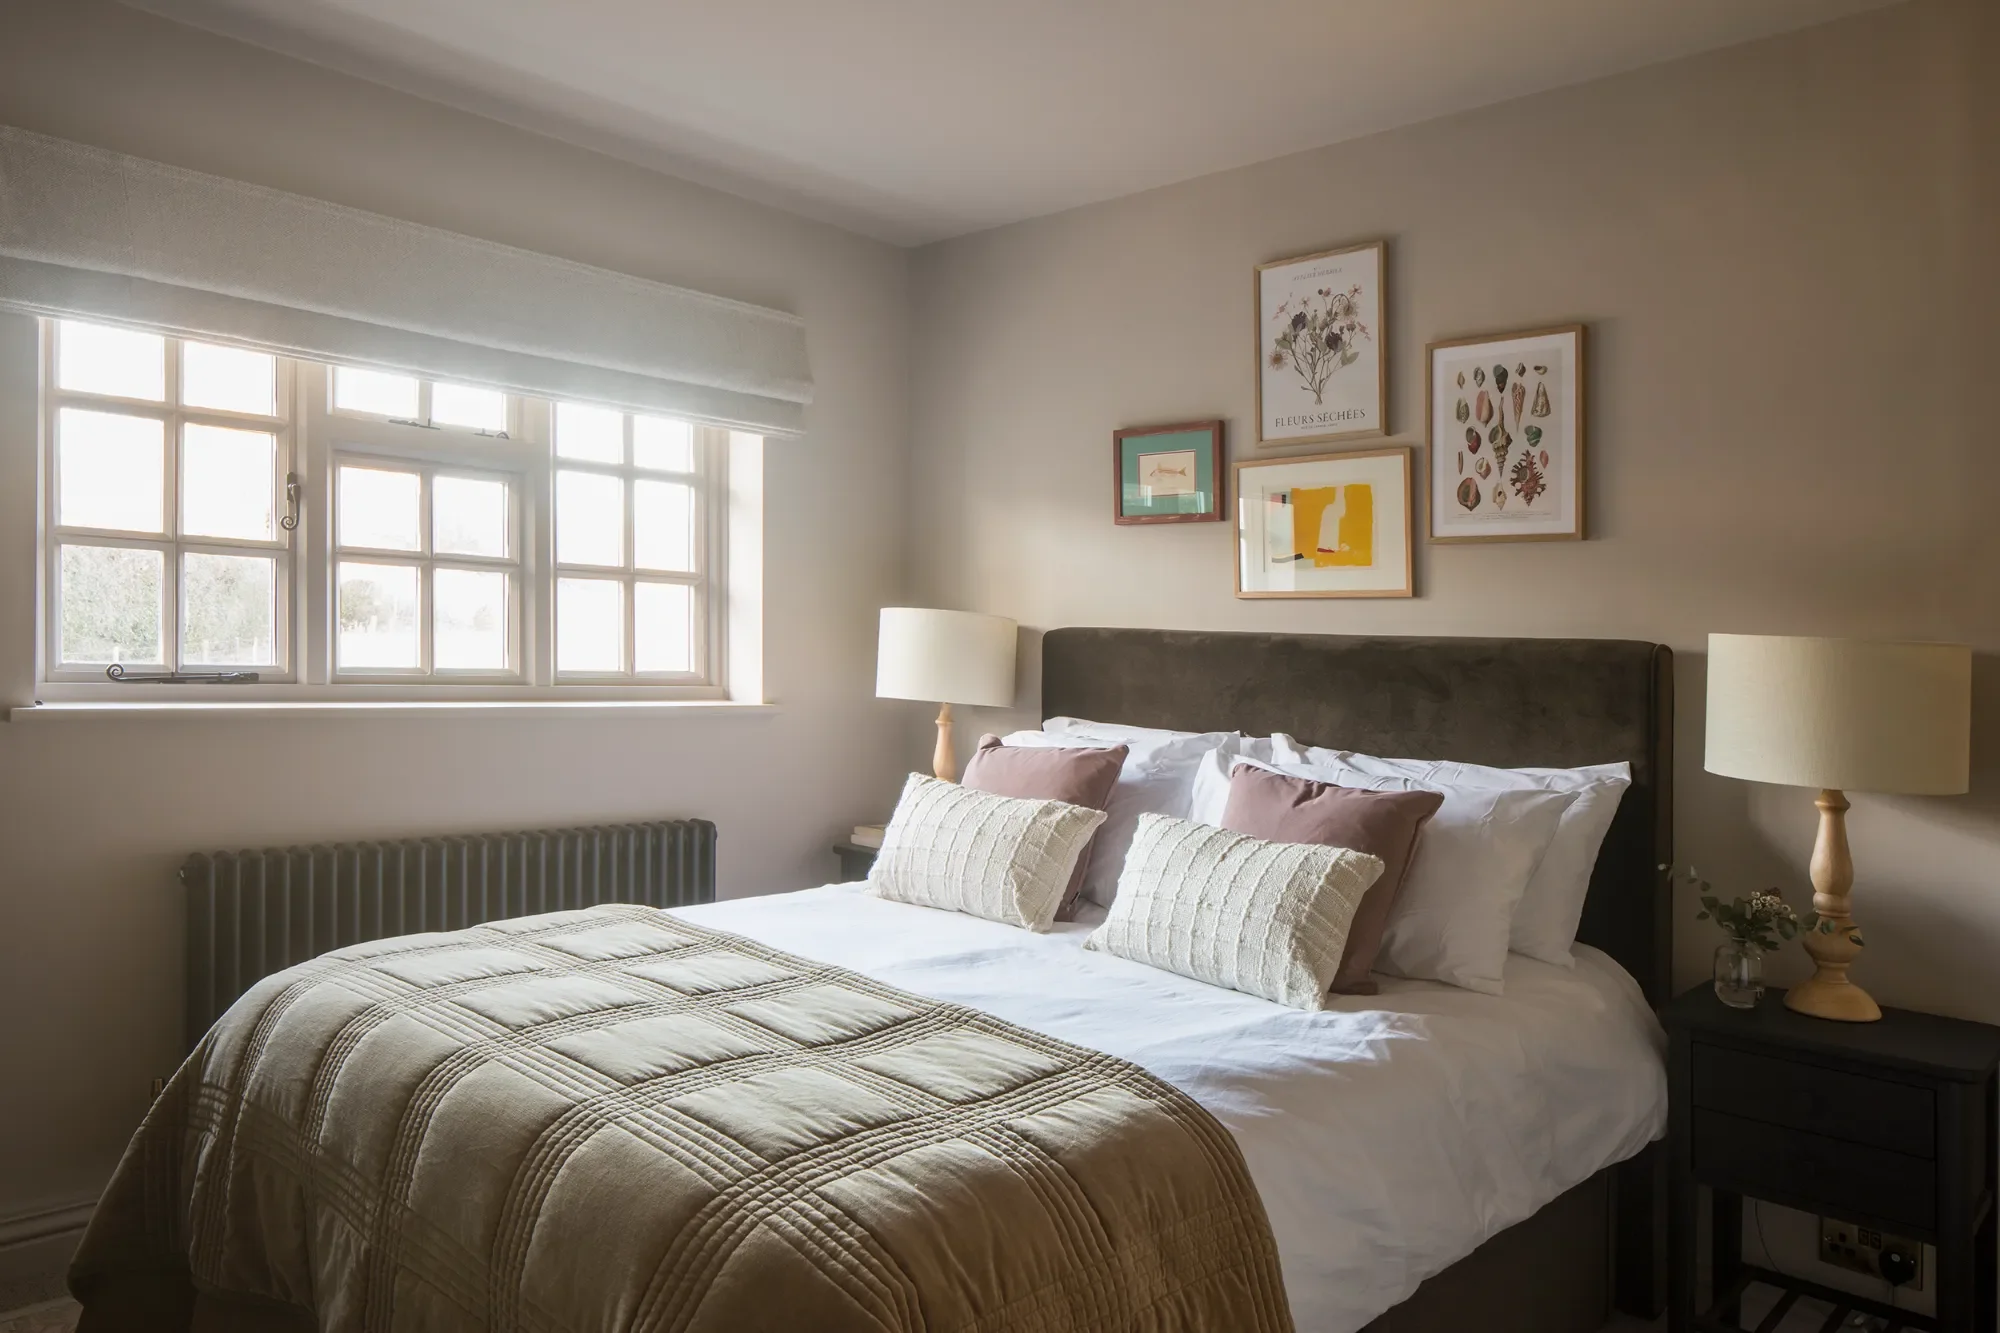
5. Float mount something
Floating an item inside a deep frame, with a gap all round, gives it presence. It works for a concert ticket, a pressed flower, a scrap of fabric or a postcard. The depth of the frame casts a soft shadow behind the piece. A framer can do it for you, or you can do it yourself with foam pads and card.
6. Add something personal
A gallery wall should say something about you. This is what stops a wall looking as if it came out of a catalogue. In my own home I have used the deeds of my Victorian home dated 1902 with a wax stamp on them, a Valentines card my husband gave me, a postcard and a record from our first dance at out wedding. If it has sentimental value and can go on the wall then anything goes.
7. Make a mini grid
A small cluster of matching frames in a tight grid of four or six gives a loose wall some structure. The pieces read as one larger artwork, which also helps the proportions. Keep every gap on the wall the same, grid or not. I use 5 to 8cm and measure each one. If they are too wide then the pieces float apart, and too tight they feel crowded.
8. Not everything has to be art
Add something three-dimensional. A small wall light, a ceramic plate, a mirror, a woven piece or a little shelf with an object on it. It breaks up the flat grid and adds texture, which is a big part of how I layer a room.
9. lay it all out before you drill
Lay everything out on the floor first. Better still, cut sheets of lining or brown paper to the size of each frame, mark the hanging point on each and stick them to the wall with low-tack masking tape. Step back and maybe live with it for a day. When you are happy, I would use a picture hanging tool to make sure you get the height that you want for each piece.
10. Light it properly
A gallery wall can look flat in the wrong light. Spotlights aimed straight down throw shadows under the frames. I would angle adjustable spots across the wall or use picture lights.
Check for glare too. Frames opposite a window can reflect it, so choose non-reflective glass there. Keep works on paper out of direct sun, which fades them. I cover this in more detail in my guide to eliminating shadows and glare.
Do the planning once
Your gallery wall doesn’t have to be perfect, but if you plan it well, then your art can do the talking. Once the layout and fixings are right, you can swap pieces in and out as your collection grows over the years.
If you have a wall that needs art and a plan, I offer a design consultation of up to ninety minutes, in person or online. We can go through your space, your art and where it should go. For a full design, book a discovery call and tell me what you are working on.
If you are also thinking about the wall behind the art, read my guide to choosing wall panelling.